Get Your Quote within 24 Hours
Skylight installation must start with the roof system, not just the skylight location. A proper installation needs the right roof opening, secure framing support, compatible flashing, continuous waterproofing, and tight air sealing around the skylight and shaft. If these details are missed, the skylight can create water-entry risks, heat loss, condensation issues, or poor long-term performance.
At Window & Door Solutions, we plan skylight installation around the actual roof pitch, roofing material, ceiling layout, rafter position, drainage path, and weather exposure. Therefore, the installation approach is confirmed before the opening is cut. This helps the skylight fit correctly, tie into the roof properly, and perform reliably in Canadian conditions.
Before roof cutting begins, our team checks the conditions that affect skylight placement, support, access, and installation control. These checks help us plan a clean opening and reduce avoidable installation problems.
Safe access comes first. Our team checks the roof area for enough working space. Skylight installation needs room for layout, cutting, flashing prep, and careful unit handling.
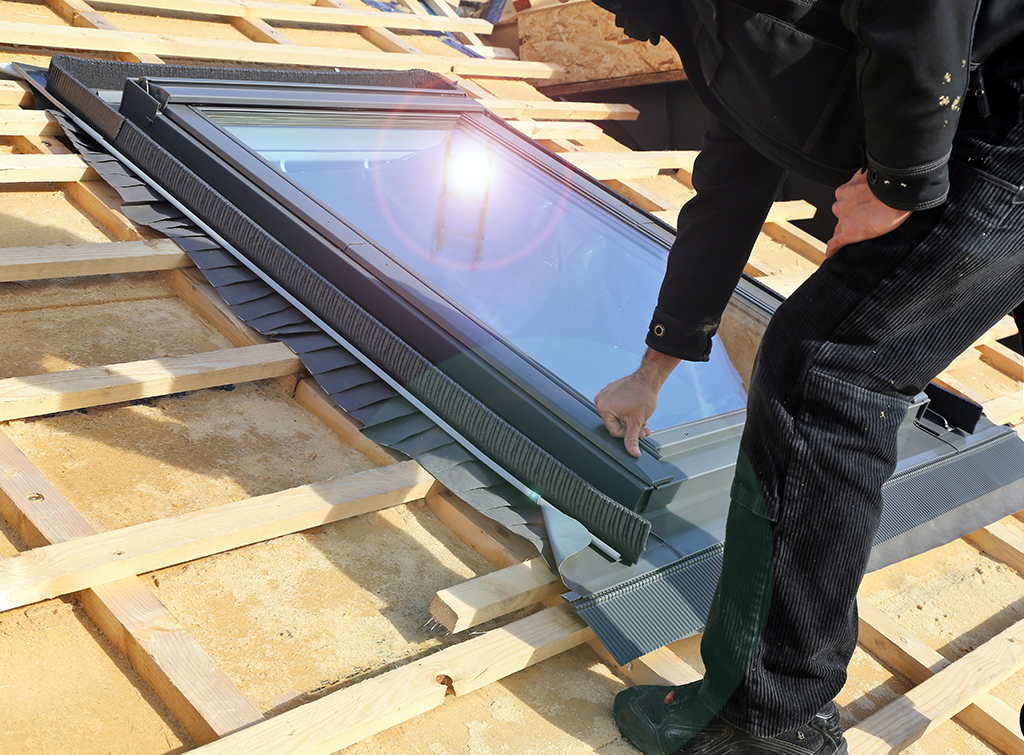
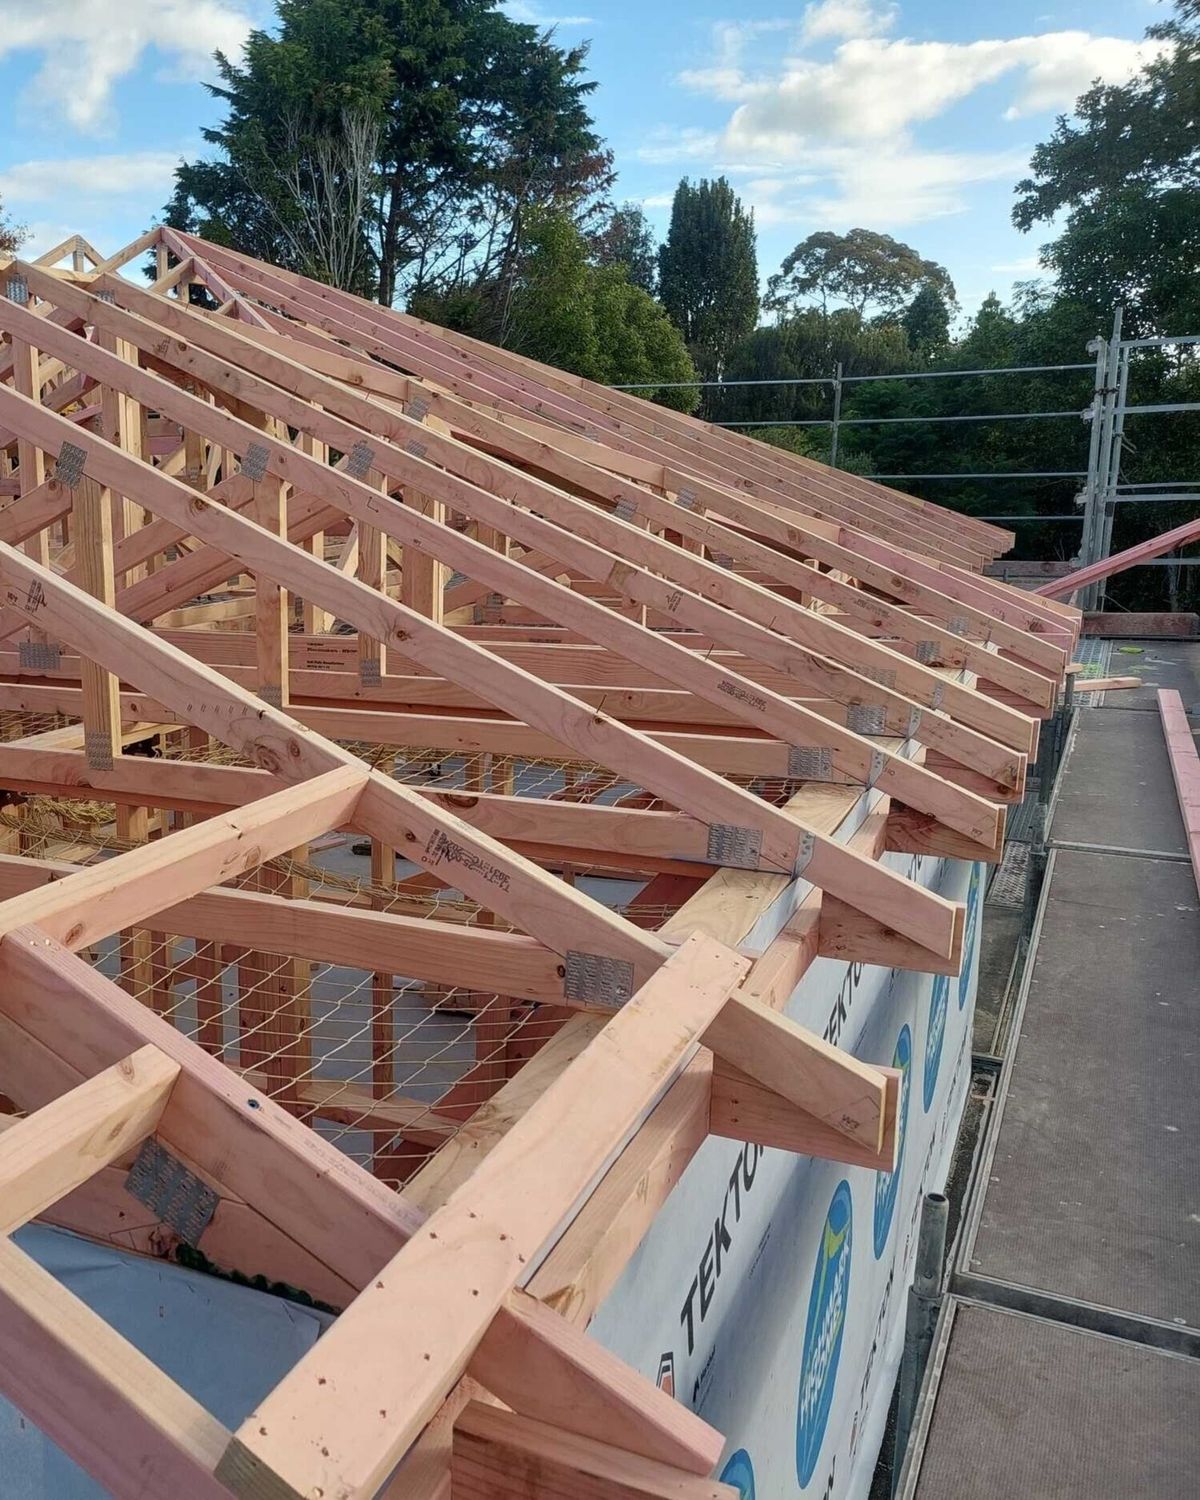
Roof framing controls where the skylight can sit. We check rafters, trusses, and header needs before we confirm the opening. This helps protect the roof structure.
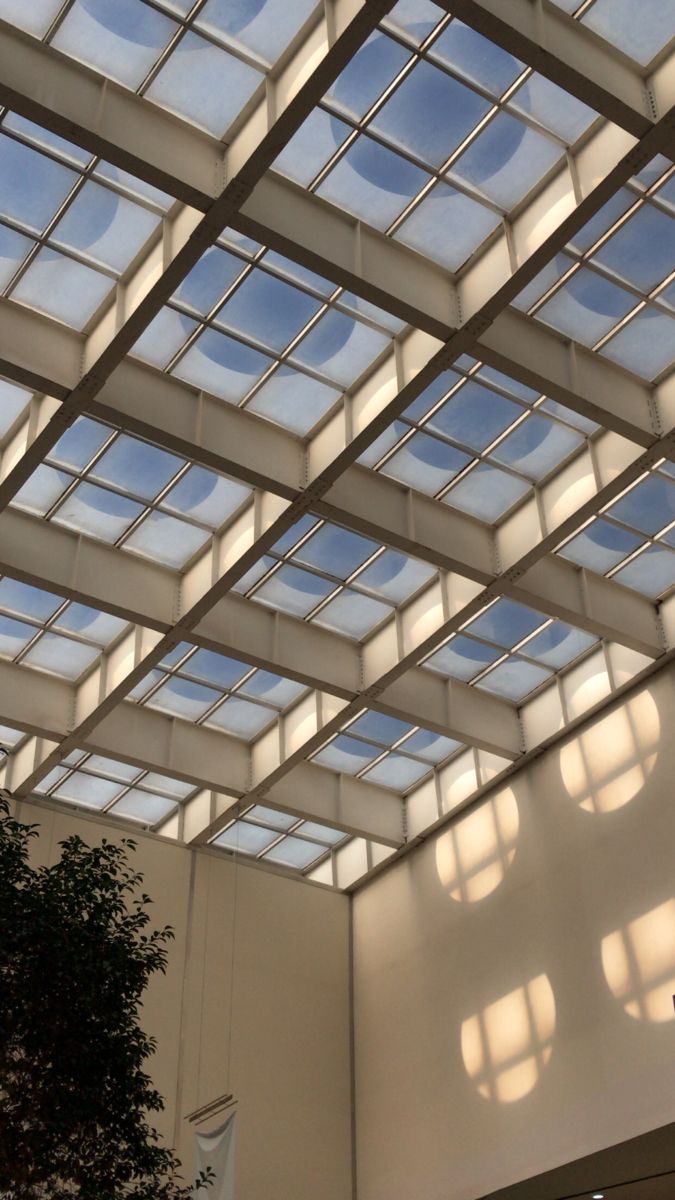
The ceiling below changes the installation path. A vaulted ceiling may allow a direct connection. A flat ceiling usually needs a framed shaft between the roof and room.
Hidden obstructions can change skylight placement. We check for ducts, wiring, plumbing vents, insulation, and framing before layout. This keeps the opening practical and buildable.
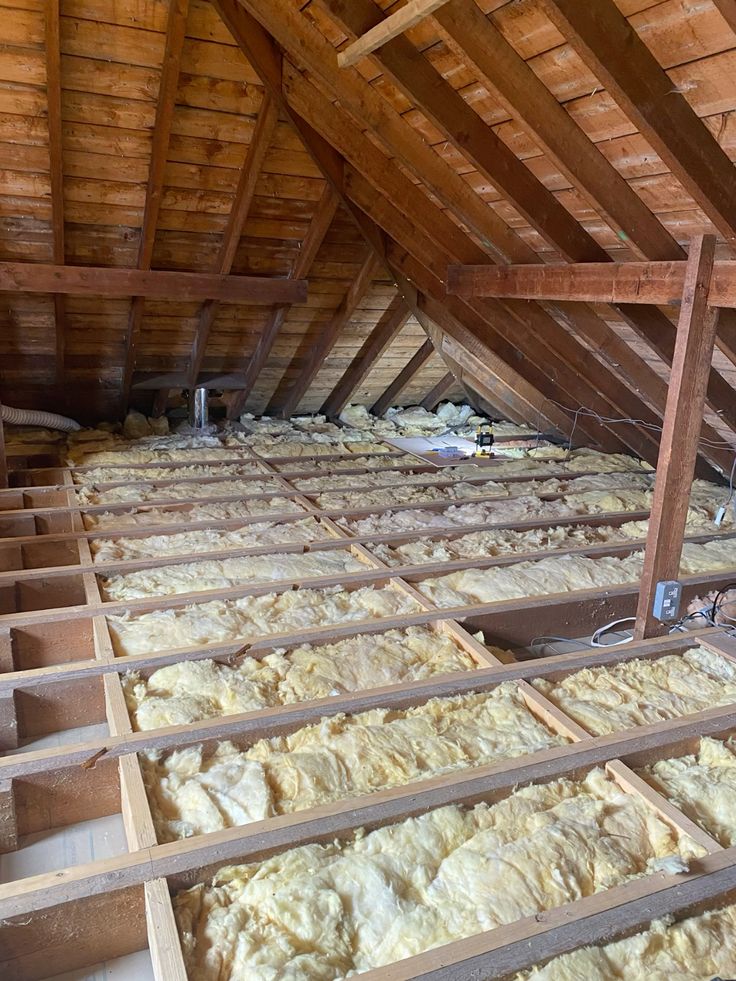
Accurate layout prevents avoidable issues. We confirm the skylight size, then mark the roof and ceiling carefully. This helps avoid framing conflicts, shaft misalignment, and roof tie-in problems.
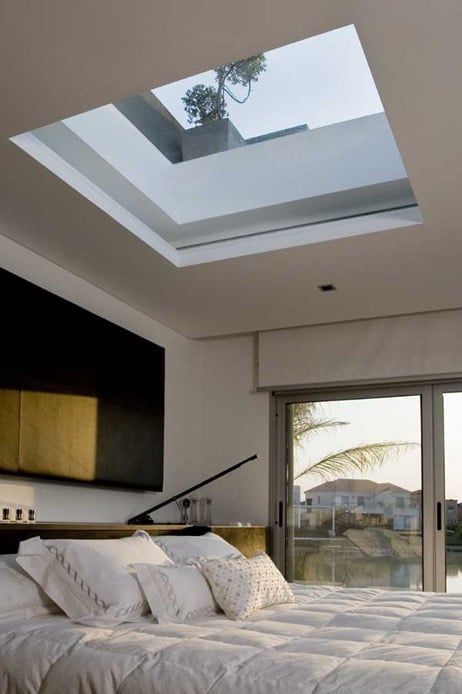
The room below needs protection before cutting starts. Our team covers the work area and controls debris. This helps protect finishes from drywall dust, insulation, and roofing material.
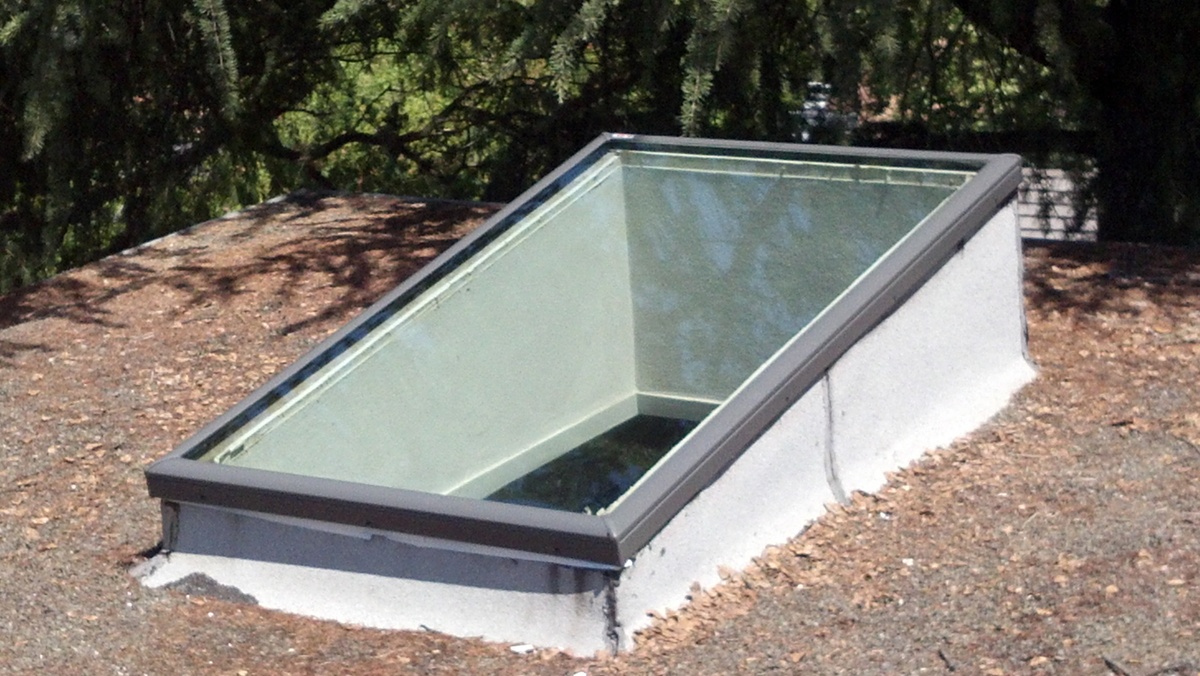
Weather affects roof work. We plan skylight installation around suitable conditions whenever possible. Rain, snow, or high wind can make an open roof more difficult to control.
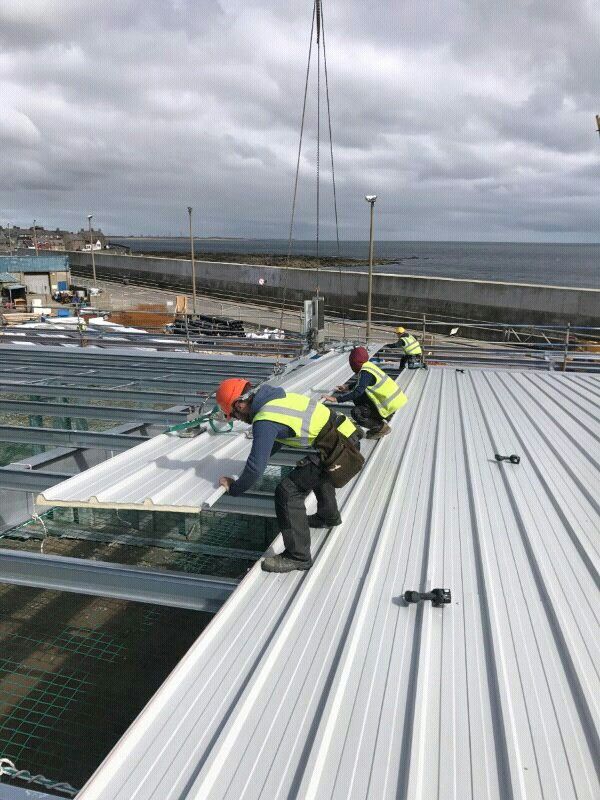
Some skylight installations need code or permit review before work starts. We check the roof structure, glazing location, local requirements, and project scope before confirming the plan.
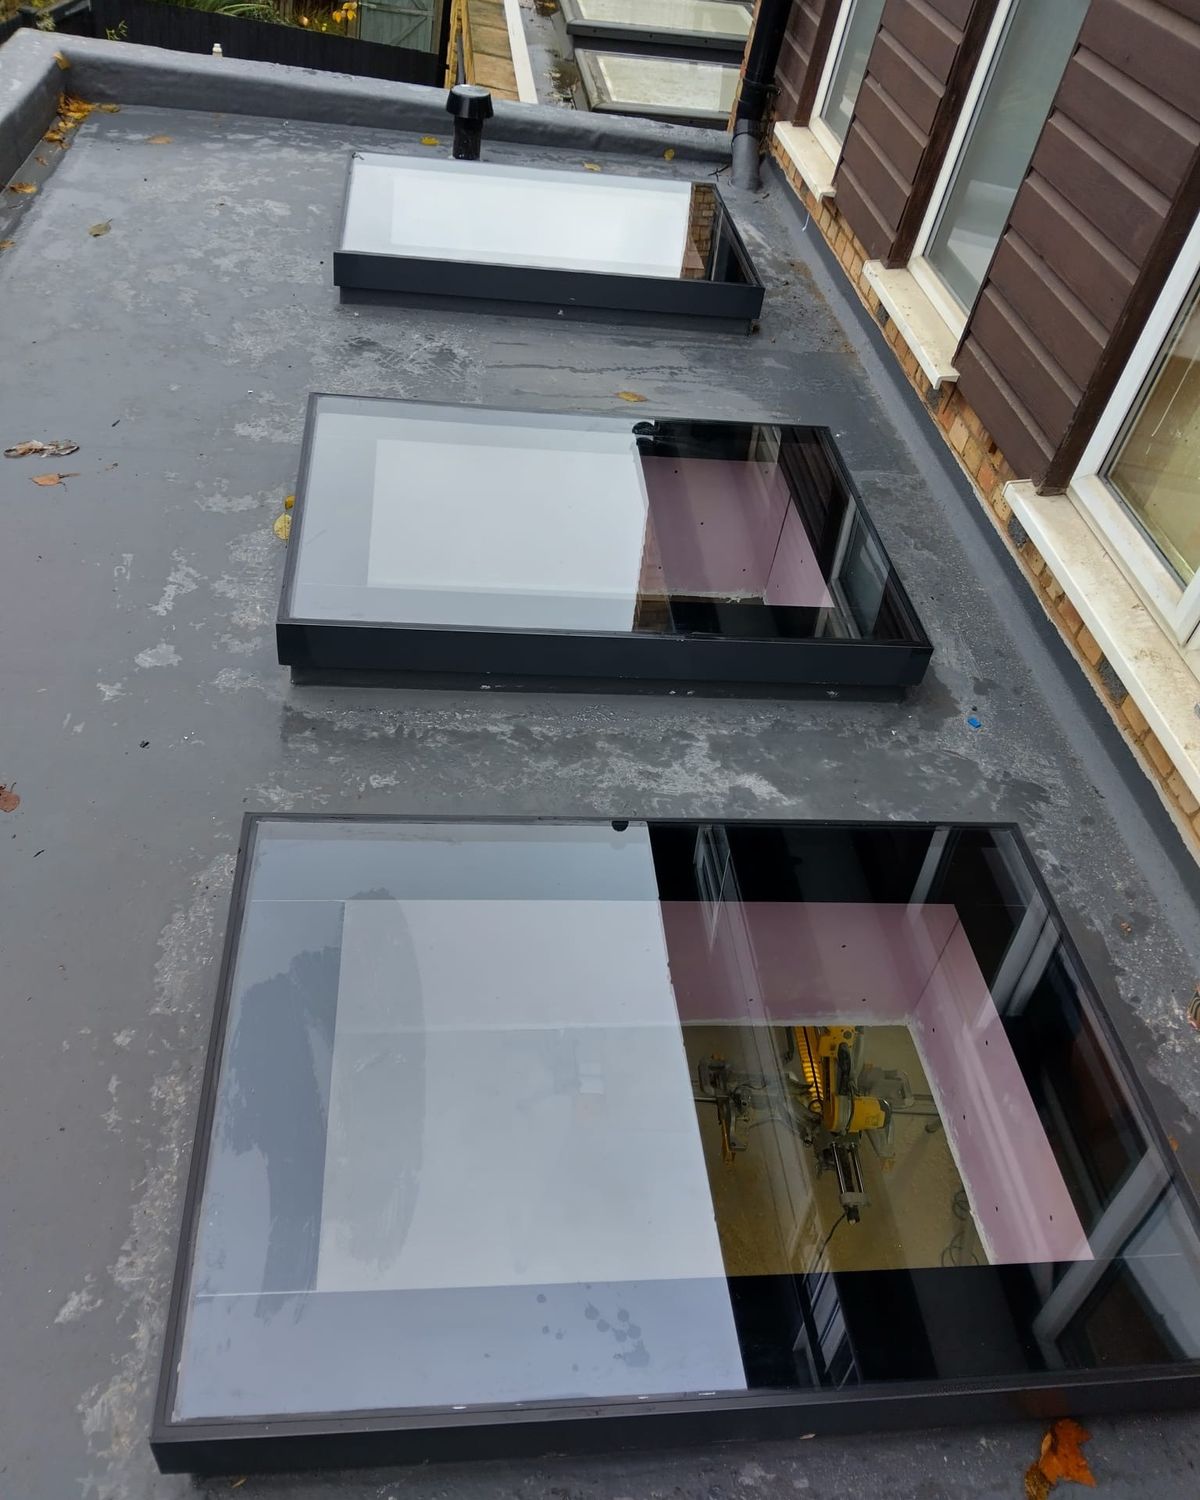
Roof pitch affects water movement. We check the slope before we place the skylight, because the flashing plan must move rain and snow away from the opening.
Different roof materials need different tie-in details. Shingles, metal panels, and other roof systems change how we prepare the opening, place flashing, and connect the skylight to the roof.
Flat ceilings usually need a framed shaft. We plan shaft depth, angle, insulation, and air sealing before installation so the skylight connects properly from roof to ceiling.
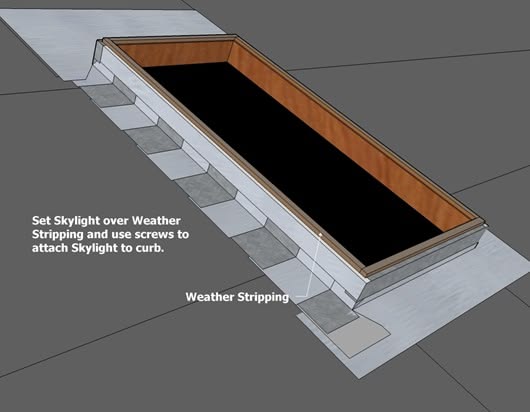
Mounting style affects the full installation method. We choose curb-mounted or deck-mounted installation based on roof slope, drainage needs, skylight compatibility, and the finished roof profile.
Skylight performance depends on how well the installation details are handled from the start. Therefore, flashing, sealing, and roof integration must be planned carefully. As a result, proper installation helps prevent leaks, improves durability, and ensures long-term performance.
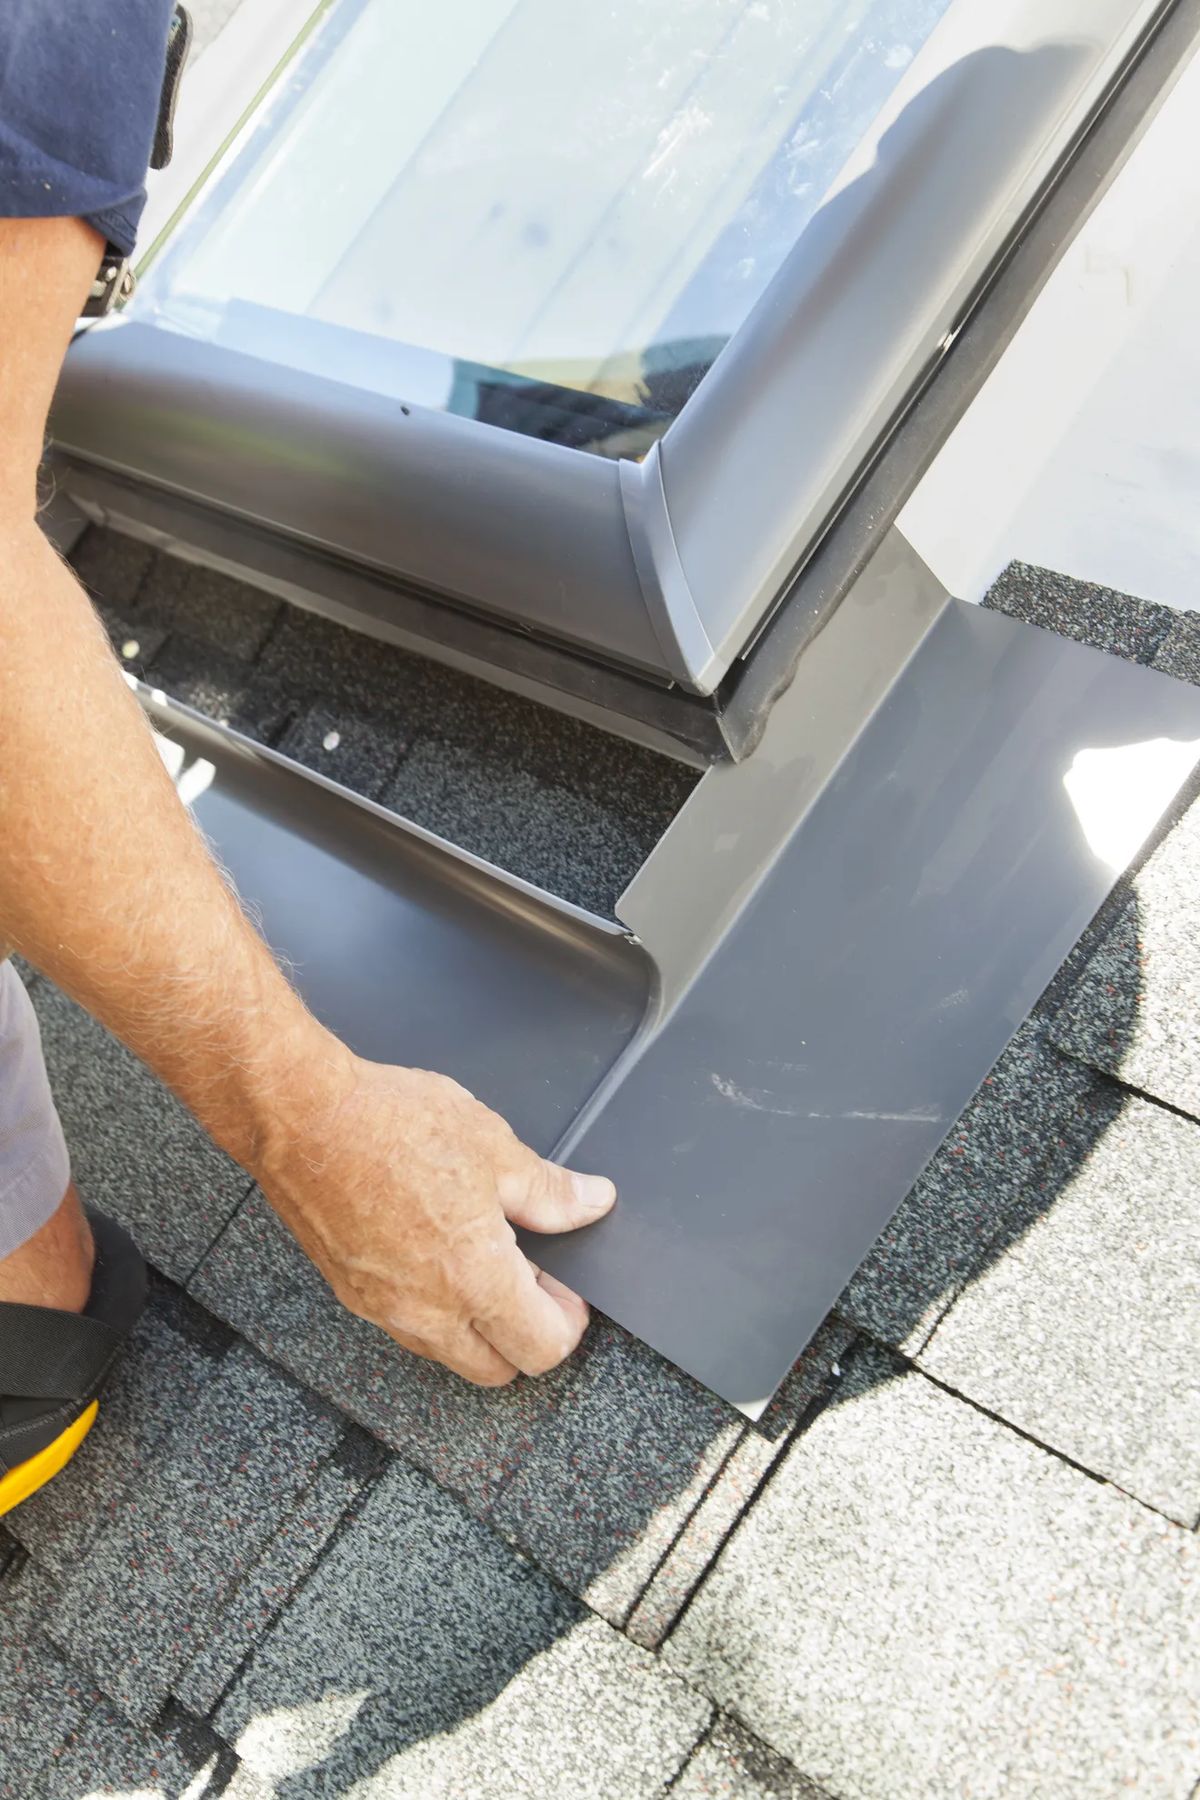
Flashing is one of the most important parts of a skylight installation because it controls how water moves around the opening. Therefore, it should be planned as part of the roof integration from the start, not treated like a final add-on.
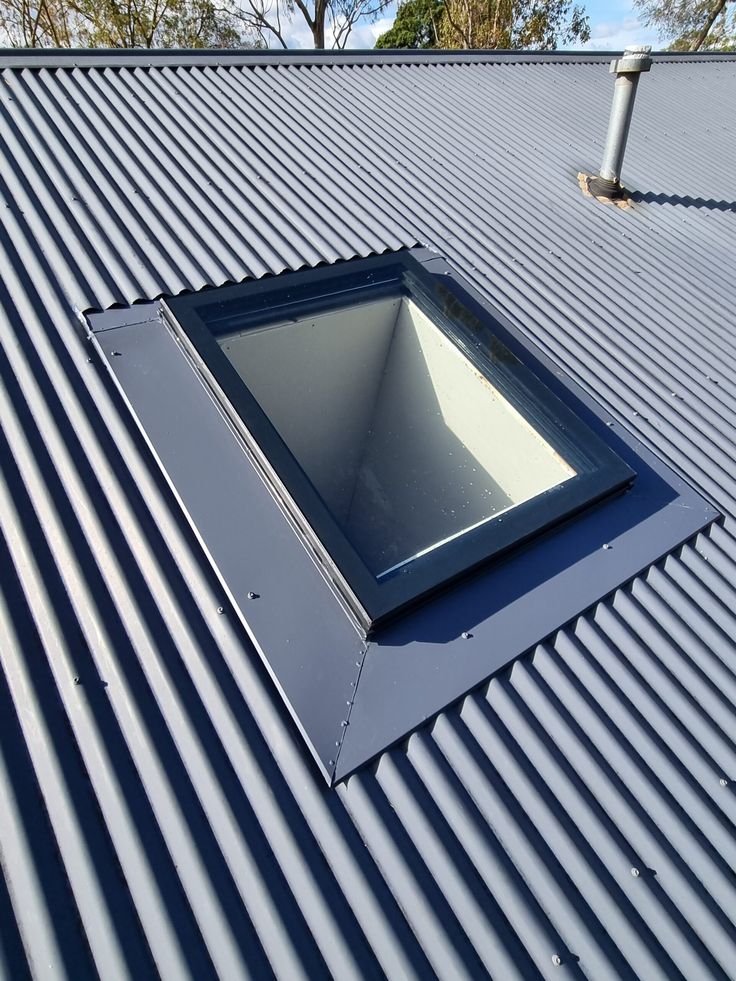
A skylight interrupts the roof surface, so the surrounding waterproofing layers have to connect properly around the new opening. If those transitions are weak, the installation becomes vulnerable even when the skylight itself is high quality.
Skylight installation also changes how air and moisture move through the roof and ceiling assembly. Consequently, sealing around the opening has to limit drafts, reduce leakage, and help control condensation risk, especially in Canadian climate conditions.
The glass specification affects how the room feels after the skylight is installed. Therefore, insulated glazing, Low-E coatings, and solar-control options should be selected around the room’s exposure, light level, and comfort needs.
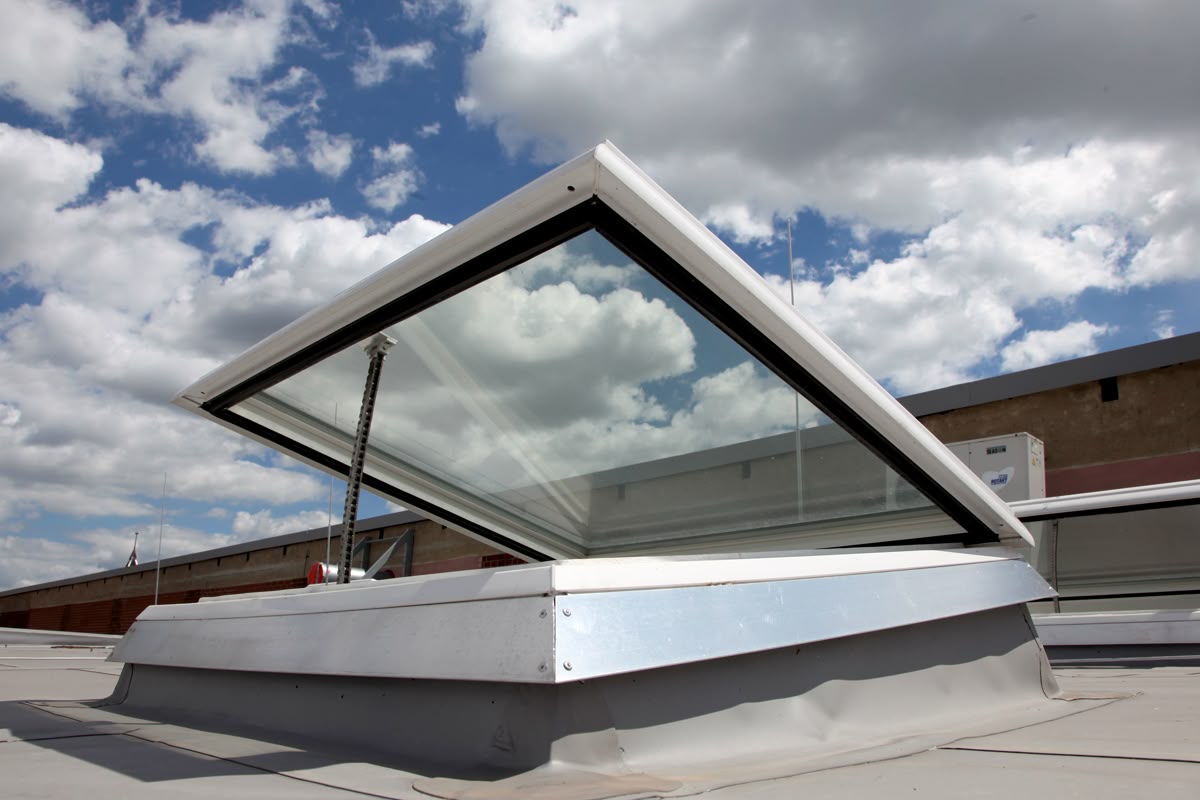
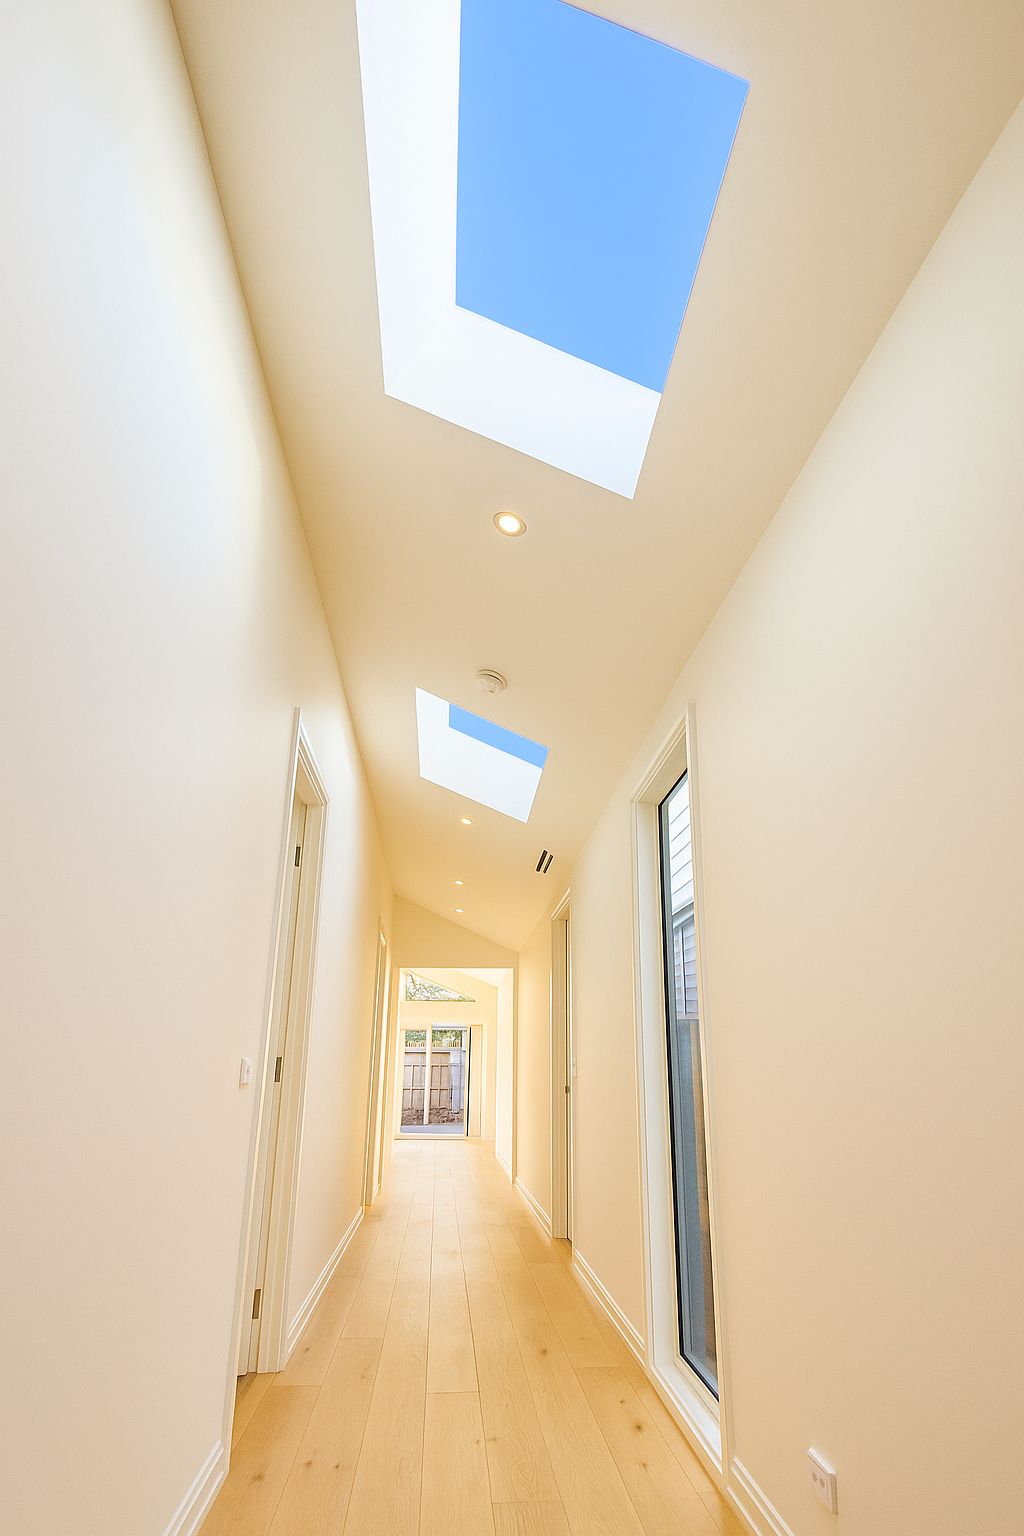
Skylight performance is not just about size. The roof orientation, the angle of incoming light, and the shape of the shaft all affect how daylight spreads through the room. For that reason, placement should be chosen around function, not convenience alone.
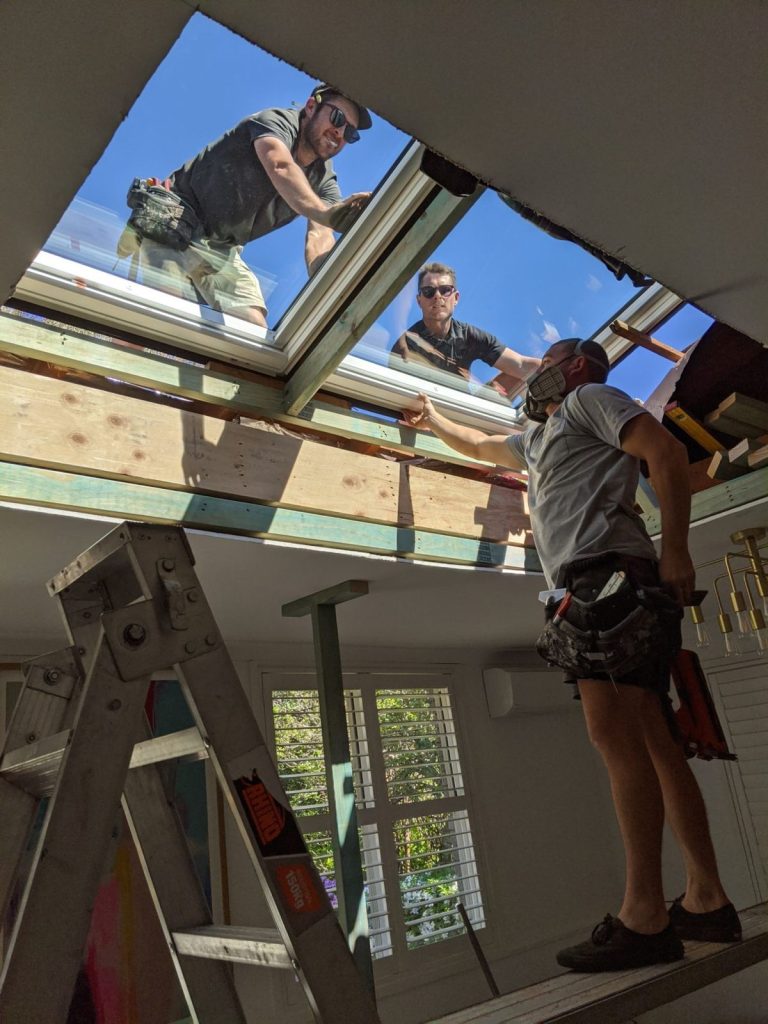
The skylight opening must be properly framed and supported to maintain roof integrity. Therefore, correct preparation ensures the unit fits securely, seals properly, and performs reliably over time.
This part of skylight installation protects the roof opening after the unit goes in. Our team focuses on flashing, waterproofing, sealing, insulation, drainage, air control, and glazing fit so the skylight performs properly in Canadian roof conditions.
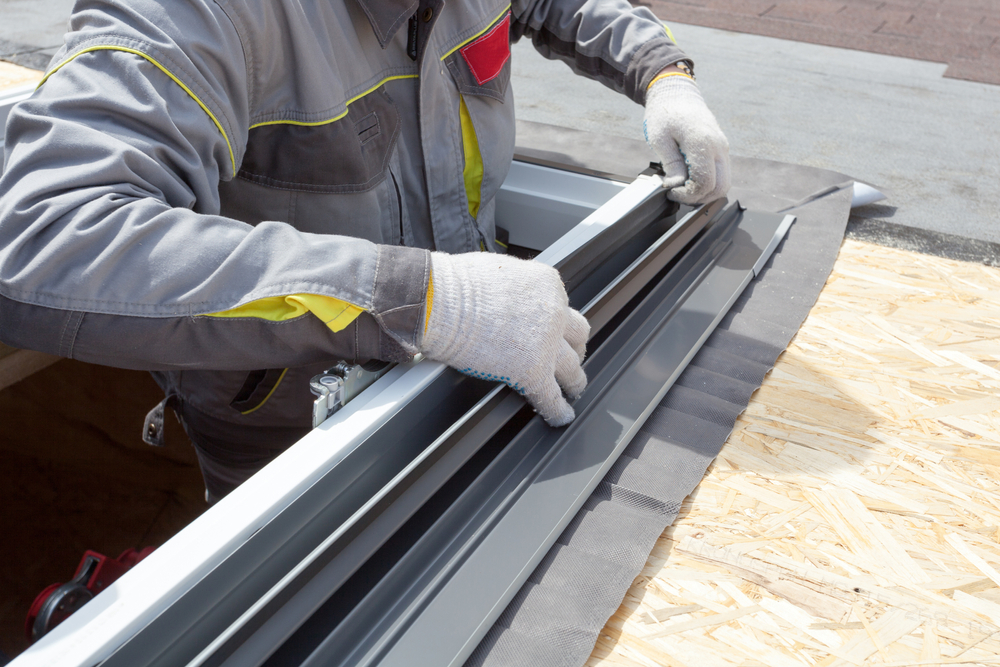
Flashing must follow the correct order. We install each flashing piece so water moves around the skylight, not behind it. This step helps protect the roof opening during rain and snow.
Air gaps can cause drafts and condensation. We seal the skylight opening and shaft connection carefully, so warm indoor air does not leak into the roof assembly.
The skylight frame must sit square and make even seal contact. We check the fit before final fastening because poor alignment can affect sealing and long-term performance.
The shaft and roof opening need proper insulation. We insulate these areas to reduce cold spots, heat loss, and comfort issues near the skylight during colder months.
Waterproofing starts before the final roof tie-in. We connect underlayment around the skylight opening and protect the edges. This helps reduce water-entry risk around the roof cut.
Water must shed away from the skylight after installation. We check the roof tie-in, flashing edges, and drainage path so water does not collect around the unit.
The skylight shaft must connect properly with the home’s interior air barrier. We seal this transition carefully because weak air control can move warm indoor air into colder roof areas.
The skylight glass must suit roof exposure and installation conditions. We check glazing type, frame fit, and seal contact so the unit supports thermal performance after installation.
Skylight installation needs organized planning because the work affects both the roof and the room below. At Window & Door Solutions, our approach keeps the installation controlled from the first site review to the final fit check.
Before installation begins, we confirm the roof conditions, opening location, access needs, and interior work involved. This gives the project a clear plan instead of leaving major decisions for installation day.
Homeowners need clear direction before cutting into the roof. We explain what the installation requires, what conditions may affect the work, and which details need attention before the project moves forward.
A skylight affects the roof surface, ceiling opening, shaft area, and interior finish. Our team coordinates these parts so the installation does not feel disconnected between outside work and inside finishing.
Skylight installation can involve roof cutting, drywall dust, insulation, and interior access. We plan the work with protection, cleanup, and controlled access in mind, especially in finished homes.
Before completion, we check the fit, operation, visible finish, seal contact, and surrounding work area. This final review helps confirm the skylight installation is complete, clean, and ready for use.
Our skylight installation process follows the actual roof, ceiling, and opening conditions. Each step helps control fit, flashing, sealing, waterproofing, shaft work, and final performance.
We start inside the home and review where the skylight will connect to the ceiling. This helps us understand the shaft path, interior finish needs, and room-side opening before roof work begins.
Next, our team checks roof slope, roofing type, ceiling structure, and access conditions. These details help confirm whether the installation can be completed cleanly and safely.
The skylight size and mounting method must suit the roof. We confirm curb-mounted or deck-mounted requirements, rough opening size, rafter spacing, and flashing compatibility before installation.
Before cutting, we review the opening layout and support needs. Headers, framing, alignment, and load paths must be planned so the roof stays stable around the skylight.
Once the layout is confirmed, we cut and prepare the roof opening carefully. Clean preparation helps the skylight sit square, fit properly, and connect correctly with the roof system.
The skylight is set into the prepared opening, then fastened and sealed. After that, flashing and waterproofing details are installed in the correct sequence around the unit.
If the ceiling needs a shaft, we complete the interior connection with insulation, air sealing, and finishing in mind. Finally, we check fit, seal contact, operation, and visible finish.
Every skylight installation has different roof access, ceiling, framing, and finishing conditions. We plan the service around the project stage, the roof assembly, and the amount of interior work required.
Existing homes need careful installation planning because the roof, ceiling, insulation, and interior finishes are already in place. We work around current conditions, check hidden constraints, and plan the opening before roof cutting begins.
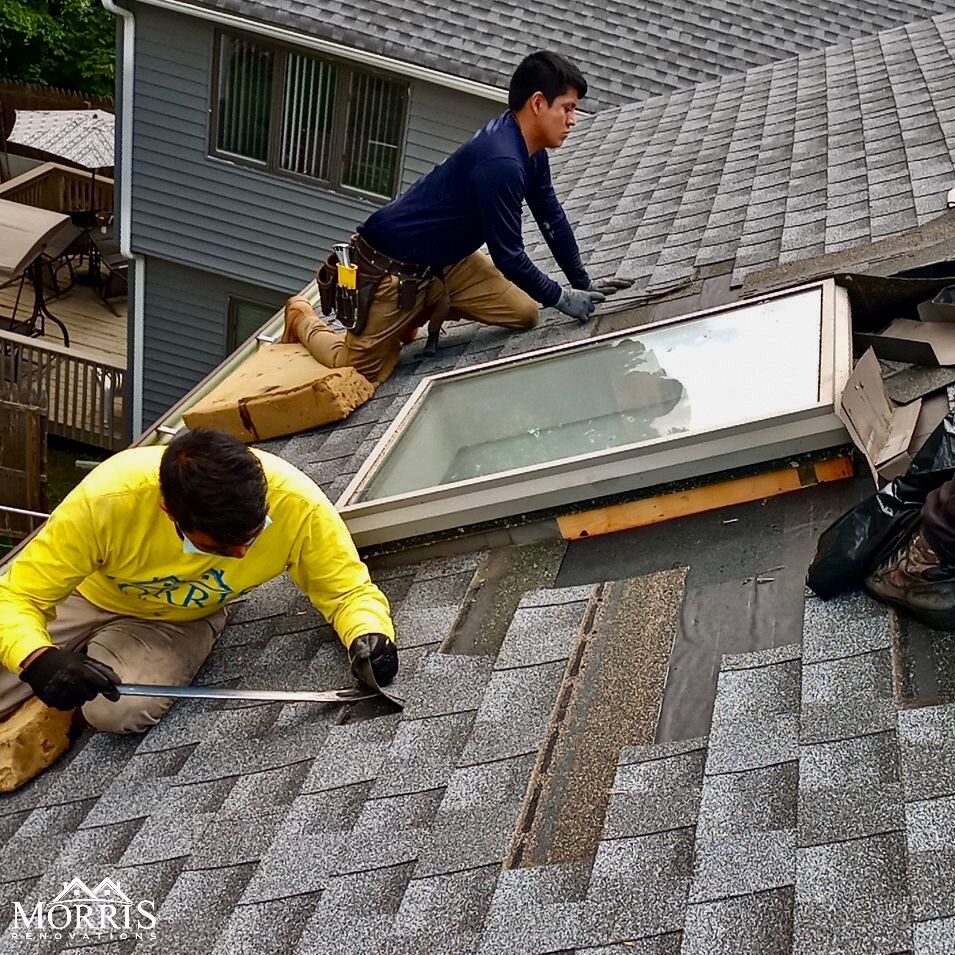
Renovations can make skylight installation easier to coordinate when framing, ceiling work, roofing, or finishing is already underway. Our approach connects the skylight work with the active renovation schedule and site conditions.
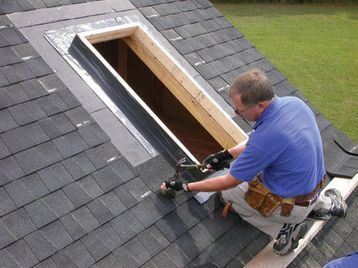
Some installations involve limited roof space, unusual framing, deep shafts, tight access, or non-standard mounting needs. We review these conditions early so the skylight can be installed with proper support, sealing, and fit.
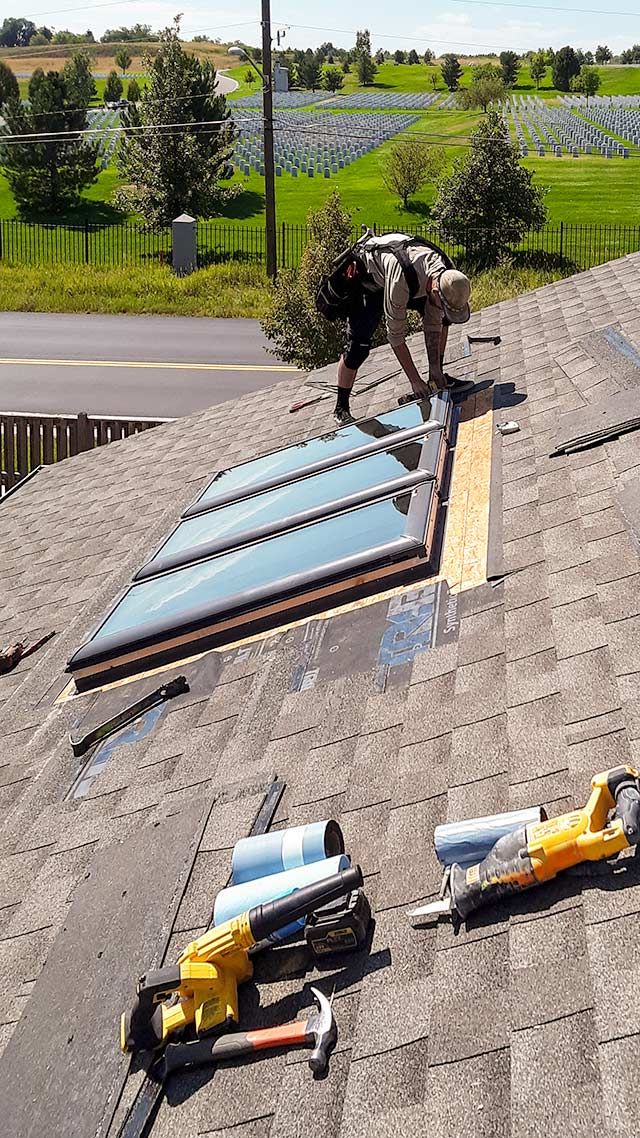
Skylight installation must account for roof openings, overhead glazing, moisture control, energy performance, and local building requirements. Code-aware planning helps protect the home while supporting proper skylight performance.
The National Building Code of Canada affects roof openings, overhead glazing, structural support, and safe placement above occupied rooms. Therefore, skylight installation should consider both the roof assembly and the room below.
Skylights can affect heat transfer, air leakage, and thermal comfort at the roof level. As a result, glazing, insulation, air sealing, and shaft detailing should support better energy performance.
CSA-tested skylight and glazing systems support reliable performance under Canadian conditions. However, installation must maintain proper fit, support, flashing, and sealing so the tested system works as intended.
Fenestration Canada best practices support proper product selection, glazing performance, and installation quality. For skylights, this helps guide roof-level daylight solutions that suit Canadian homes and changing weather conditions.
Provincial codes may affect roof openings, safety glazing, moisture control, and local installation requirements. For that reason, skylight installation should reflect the home’s location, roof type, and project scope.
A skylight should fit the roof correctly, shed water properly, and seal tightly around the opening. That is why installation planning must cover roof pitch, opening preparation, flashing, waterproofing, air sealing, insulation, and shaft detailing before work begins.
At Window & Door Solutions, we install skylights with the roof assembly and interior connection in mind. Contact us today to request a skylight installation quote and plan the right approach for your roof, ceiling, and long-term performance needs.